
Take better pictures with your smart phone!
We’ve all got colleagues who take pictures that look like they were shot on a potato. A camera in a smart phone does not a photographer make!
Here are some quick tips - both practical and intellectual- to immediately improve your iphone photography efforts.
STOP FEELING DAFT
Everyone’s always relieved when someone else is taking pictures, so don’t feel awkward.
Self designating yourself as the photographer gives you a certain degree of power, so these are things you can - and should- ask for:
Ask people to look at the camera
Clear the meeting table/make it look more presentable
Turn lights on/blinds up (good lighting makes such a difference!
Take several pics, in case someone’s making a weird face. You can do this by just holding down the shutter button a little longer.
Everyone understands the value of visual content now, so you won’t meet with much resistance. Anyone who refuses can be the one to take the picture and you get in the frame. Cajoling someone to be in it isn’t the done thing.
2. HABITS FOR IMMEDIATELY OUT OF THE POCKET
Make sure your camera is clean. Glasses wipes are perfect, but a surreptitious wipe on clothing is also good.
Decide if you need to be in this picture. And if you don’t need to be, do you want to be? Having someone else able to the picture.
3. WHICH WAY TO TAKE IT
If you’re taking a picture of a group of people around a table, you’re better off taking the picture holding the phone landscape. (Phone held on side)
If you’re taking a picture of a group up to 5 people stood together, take the photo holding the phone portrait. (Phone held upright) For larger groups, hold the phone landscape.
If you’re taking a picture of someone giving a presentation on a stage, take the picture holding the phone upright.
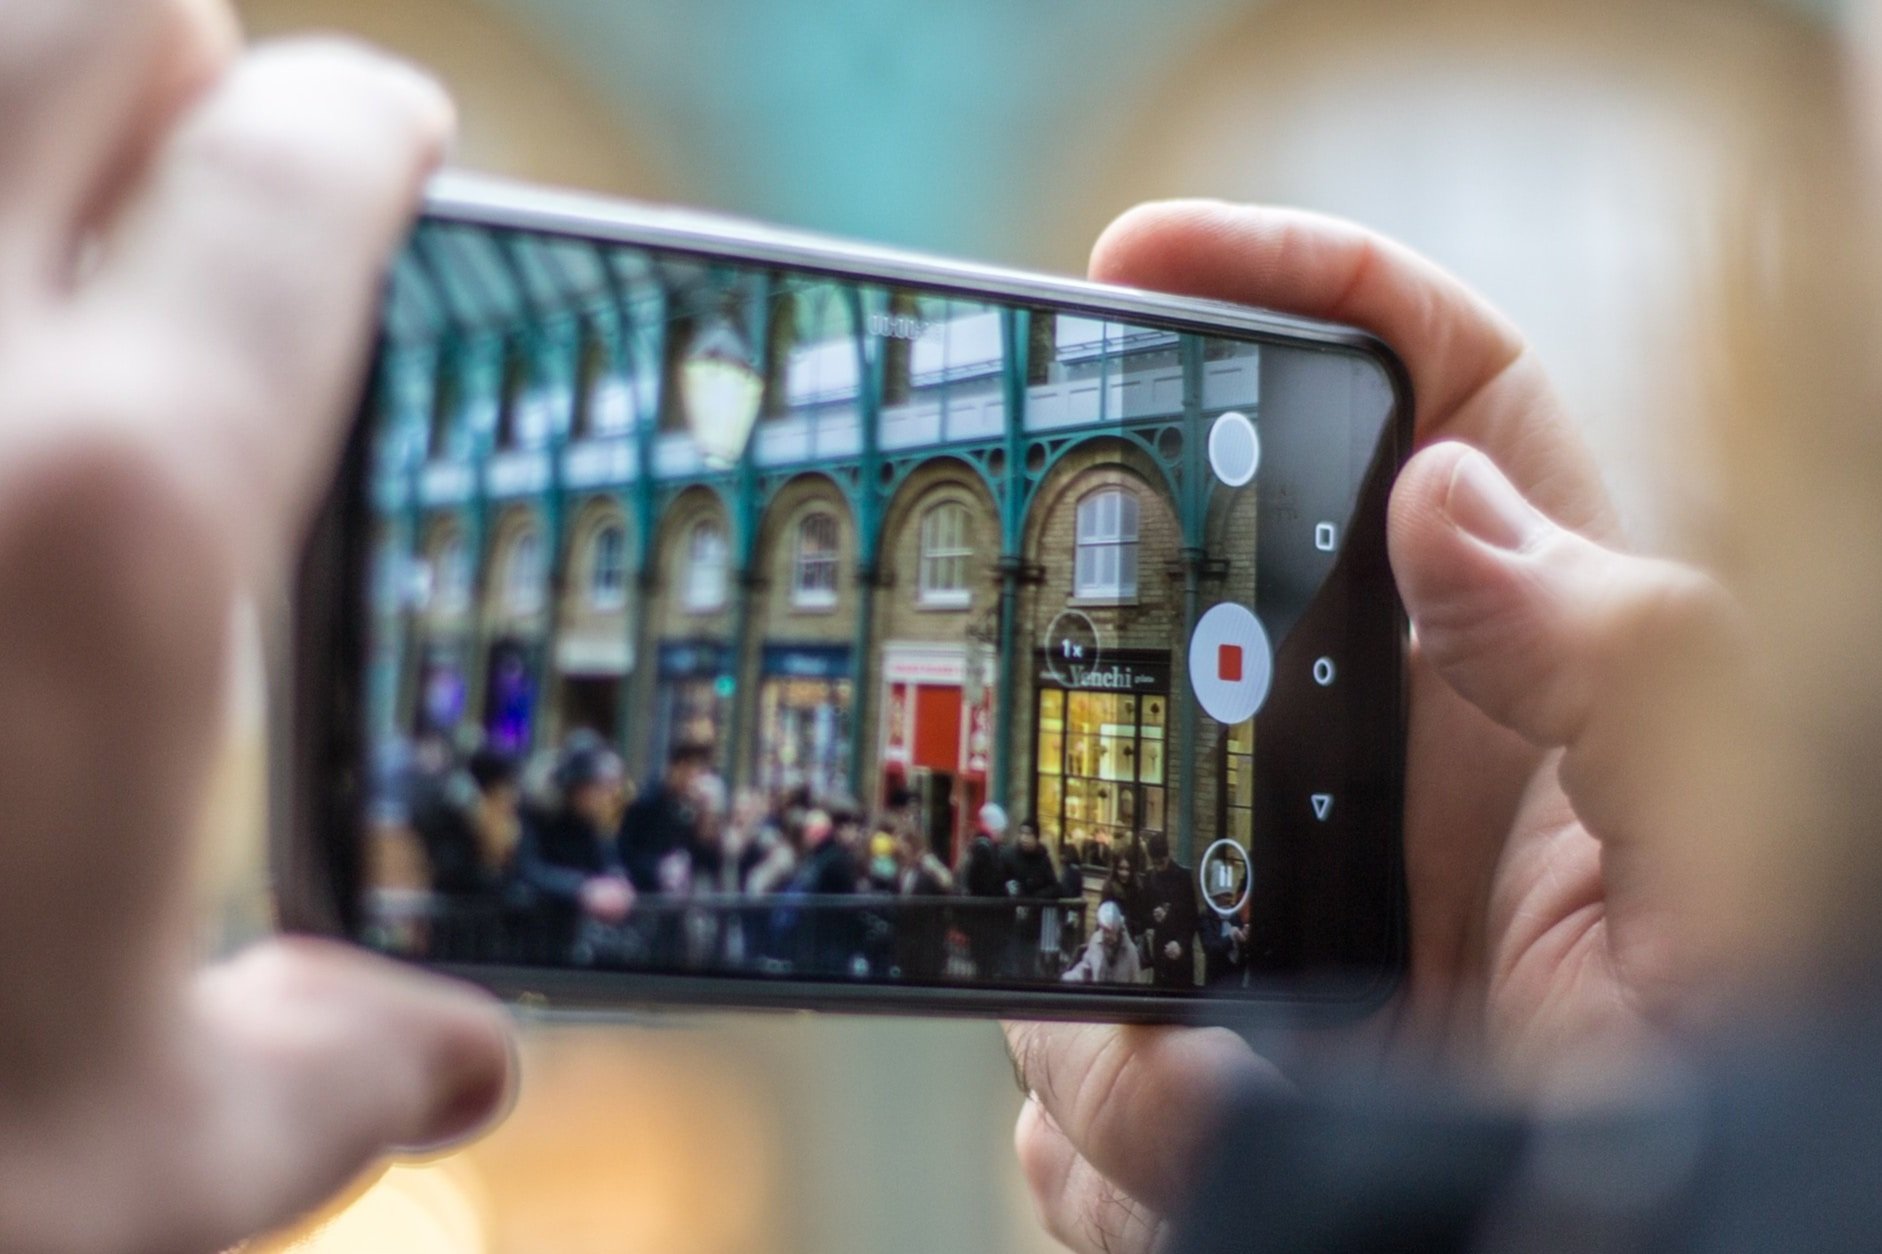
When filming in crowds with your smartphone, try and film from an angle that shows of the location rather than the people.
4. TURN ON YOUR GUIDANCE GRID
Go to Settings > Camera > Composition section- and toggle ‘grid’ ON.
A Grid of 9 will be lightly overlaid when you look through the camera. Whether you’re aiming to shoot in landscape, or portrait (upright) - aim for your subjects to be in the middle line area.
With groups of people, aim for the majority of faces to be in the middle line area.
If you’re taking a picture of someone giving a presentation on a stage, their head should just about be in the top box. Try and get the brand on the lecturn/slide they’re presenting if at all possible.
5. RESPECT YOUR SELFIES
You’re never too old or important for a selfie!
They don’t have to be toothy grins, a closed mouth is also good but make sure you are still smiling with your mouth and eyes. Pretend you’ve just remembered something adorable.
They’re best with no more than 3 people in portrait. Any more people and it gets a bit complicated with angles, getting the phone far away enough.
AND FINALLY
Cajoling someone to be in a picture isn’t the done thing. It’s their loss!
If you only remember to take a photo right at the end of the event, when most people have gone, here are some picture ideas:
The event logo
An empty stage with something still on the projector that’s relevant.
Branded handouts spread out nicely on a table
Your lanyard/pass for the day
Good luck and godspeed!

Using the guidance grid will help you compose your smart phone photos.